Keeping your hair looking its best during the summer can be tough. Heat and humidity can quickly turn a fresh do into a hot mess, which is why you need great go-to protective styles that hold up no matter what the weather brings.
But if you don’t have the time (or the money) to go to a salon, we’ve rounded up some of our favorite looks that even a beginner can recreate at home. Trust us, you’ll love these styles so much that you’ll want to wear them into the fall.
Passion Twists
Chev B’s tutorial for easy DIY passion twists is the perfect summer style – especially if you don’t have the best braiding skills. Start with freshly washed and stretched hair. Add a little of your favorite oil on rubber bands to keep them from tugging at your hair. Then, part your hair in sections, adding the edge control wax or gel of your choice. After crocheting in the prestretched hair to each section, simply two-strand twist to your desired length and add a rubber band at the end. Finish off with jewels or other accessories of your choice to add some style.
Feed In Ponytail
OnlyOneJess’ tutorial on styling feed in pigtails has to be one of the easiest protective styles around. Start by parting washed and stretched hair down the middle. Use your favorite gel to smooth your hair down and add a little edge control to make sure they are laid. Place your hair in two ponytails, making sure they are positioned as close to the base of your scalp as possible – that is, unless you want to channel your inner 12-year-old. She starts braiding her natural hair, adding pieces of pres-tretched hair along the way. And the result – two super cute ponytails that only cost $4.
Half Up, Half Down With Deep Twist Crochet Hair
@Bycandicejones’ half up half down style is a great pulled together summer look that doesn’t take long. She starts by parting her hair from ear to ear, adding rubber bands to the front section. She crochets curly hair into the braids in the back for a beautiful beach-ready style you can wear all summer long.
Boho Locs
Think you can’t do crochet locs in two hours? The Chic Natural shows you how. This beautiful boho look is created by crocheting curly hair into sections of your natural hair. The best part about this look is that your sections don’t have to be perfect. And you don’t have to loc every section. Make sure you watch this video all the way through to see how she removes the locks when she’s ready to switch up her style.
Wrap and Go Ponytail Sleeve
We can’t stop talking about the Organique Pony Pro, one of the easiest ways to add a little length to your summer ponytail. Start by making a sleek low ponytail with your natural hair and slide the invisible sleeve around the base which hides the hair. An extra piece of hair acts as an adjustable strap to secure the new hair in place. Add a bobby pin for extra security and you’re good to go!
High Bun
The bun is the ultimate protective style. And in this video, Toia Barry shows 5 different ways to create cute high buns with natural hair. With the help of a ponytail attachment, edge gel and a whole lot of bobby pins, she gives you the tools to create some super cute summer looks. Who knew there were that many ways to style a bun?
Drawstring Ponytail

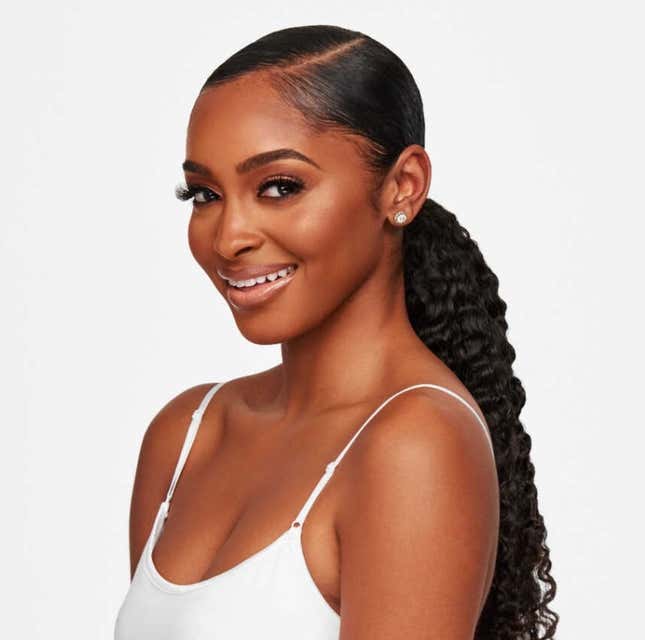
If you’re looking for a summertime style that’s just as quick as it is cute, try the “For Koils” Drawstring Ponytail from Heat Free Hair. The 100 percent virgin drawstring ponytail is easy to attach and is available in a variety of length and fullness levels to suit your personal style.
Flat Twist Halo
If you’re looking for a quick protective style that works for day or night, we love Say Alejandra’s tutorial for creating a flat twist halo. Starting with stretched, detangled hair, make a side part from the top of your head to the base of your skull (either side works!). Once you lay down those edges with the gel of your choice, you can get to twisting. Start a twist from the middle of your hair and flat twist around, adding a little more hair as you go. When you’ve added all of your hair on each side, twist down to the ends. Finish off by wrapping the twists around your head, tucking the ends and pinning them down.
Beautiful Bantu Knots
Here, Chev B breaks down how she does Bantu knots with braiding hair. She starts with clean, stretched hair and makes triangle parts all around, securing each section with an elastic band. She twists each section of her natural hair from root to tip and adds pre-stretched braiding hair to create the Bantu knots. She finishes the style with gold braid rings for a perfectly polished look.
A Cute Cap for Curls

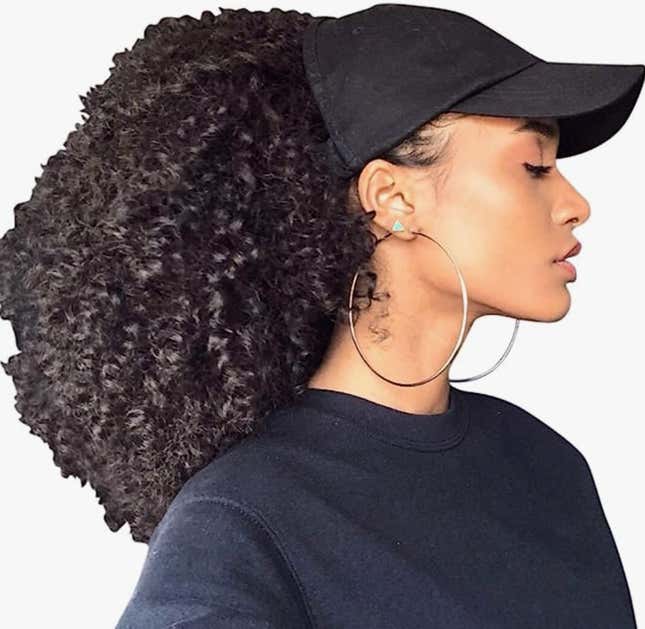
Having a head full of big, beautiful curls is great – until you want to wear a hat. The Curl Cap is a classic baseball cap designed for natural hair. The brim helps protect you from the sun, while you stuff your afro puff into the scrunchie-like opening in the back. And it’s made with a satin lining to protect your tresses.

